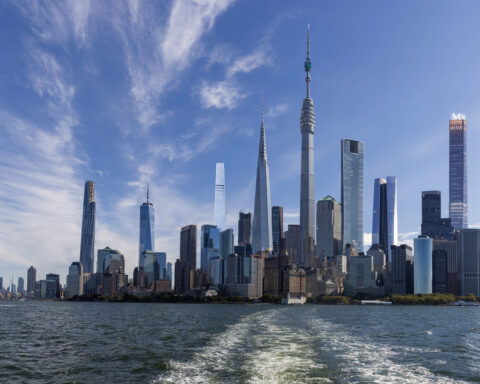

Photographing the Art Deco details of the Rockefeller Center can be a fun and rewarding experience. With its iconic architecture and rich history, the Rockefeller Center offers a unique opportunity for stunning photography. Whether you’re a seasoned photographer or just starting out, mastering Rockefeller Center photography involves careful preparation, the right equipment, and effective techniques. This guide will help you get the best shots, ensuring you capture the elegance and historical significance of this architectural masterpiece.
Preparation and equipment
Research and planning
Researching the Rockefeller Center is the first step. Even if you’re only there to take some pictures, do take some time to learn about its history, architecture, and the specific Art Deco elements that makes it unique. If you know what to look for, it will make your photos more meaningful and targeted.
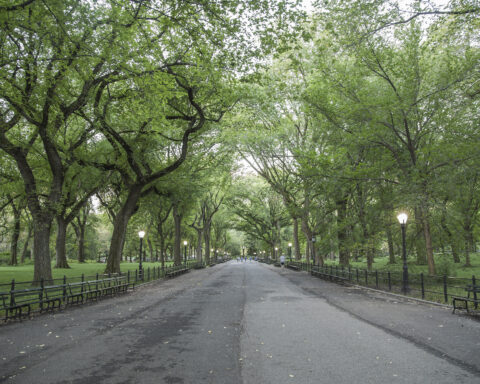
Planning your visit is crucial. Check the weather forecast to ensure good lighting conditions. Overcast days can provide even lighting, but clear skies offer dramatic shadows and highlights. Look for the best times of day to visit. Early mornings and late afternoons are ideal for softer, warmer light. Avoid midday when the sun is harsh and directly overhead.
Consider any events or restrictions that might affect your shoot. The Rockefeller Center is a busy place with many tourists, so try to visit during less crowded times. Check if there are any special events or construction work that might limit access to certain areas.
Essential equipment
Choosing the right equipment can make a big difference in the quality of your photos.
Camera: A DSLR or mirrorless camera with manual settings is recommended. These cameras allow you to control the aperture, shutter speed, and ISO, giving you more creative freedom.
Lenses: Bring a wide-angle lens and a telephoto lens. A wide-angle lens is great for capturing the entire facade of the building, while a telephoto lens is perfect for zooming in on intricate details. If you have a macro lens, it can be useful for extremely close-up shots of textures and small details.
Tripod: A sturdy tripod is essential, especially for low-light conditions or long exposure shots. It keeps your camera steady and ensures sharp images. If you’re lucky, you’ll be fine walking the grounds with a tripod. Though, keep in mind that security can be interested in what you’re doing.
Polarizing Filter: A polarizing filter reduces glare and reflections, which is particularly useful when photographing glass or shiny surfaces. It also enhances colors and contrast, making your photos more vibrant.
Extra Batteries and Memory Cards: Always bring extra batteries and memory cards. Running out of power or storage space can be frustrating and cut your session short.
Here’s a handy checklist to help you remember your gear:
| Equipment | Purpose |
|---|---|
| Camera | For high-quality photos |
| Wide-angle Lens | Captures large areas |
| Telephoto Lens | Zooms in on details |
| Tripod | Keeps camera steady |
| Polarizing Filter | Reduces glare |
| Extra Batteries | Ensures you have enough power |
| Memory Cards | Provides enough storage for many photos |
Compose your shots
Capturing large facades
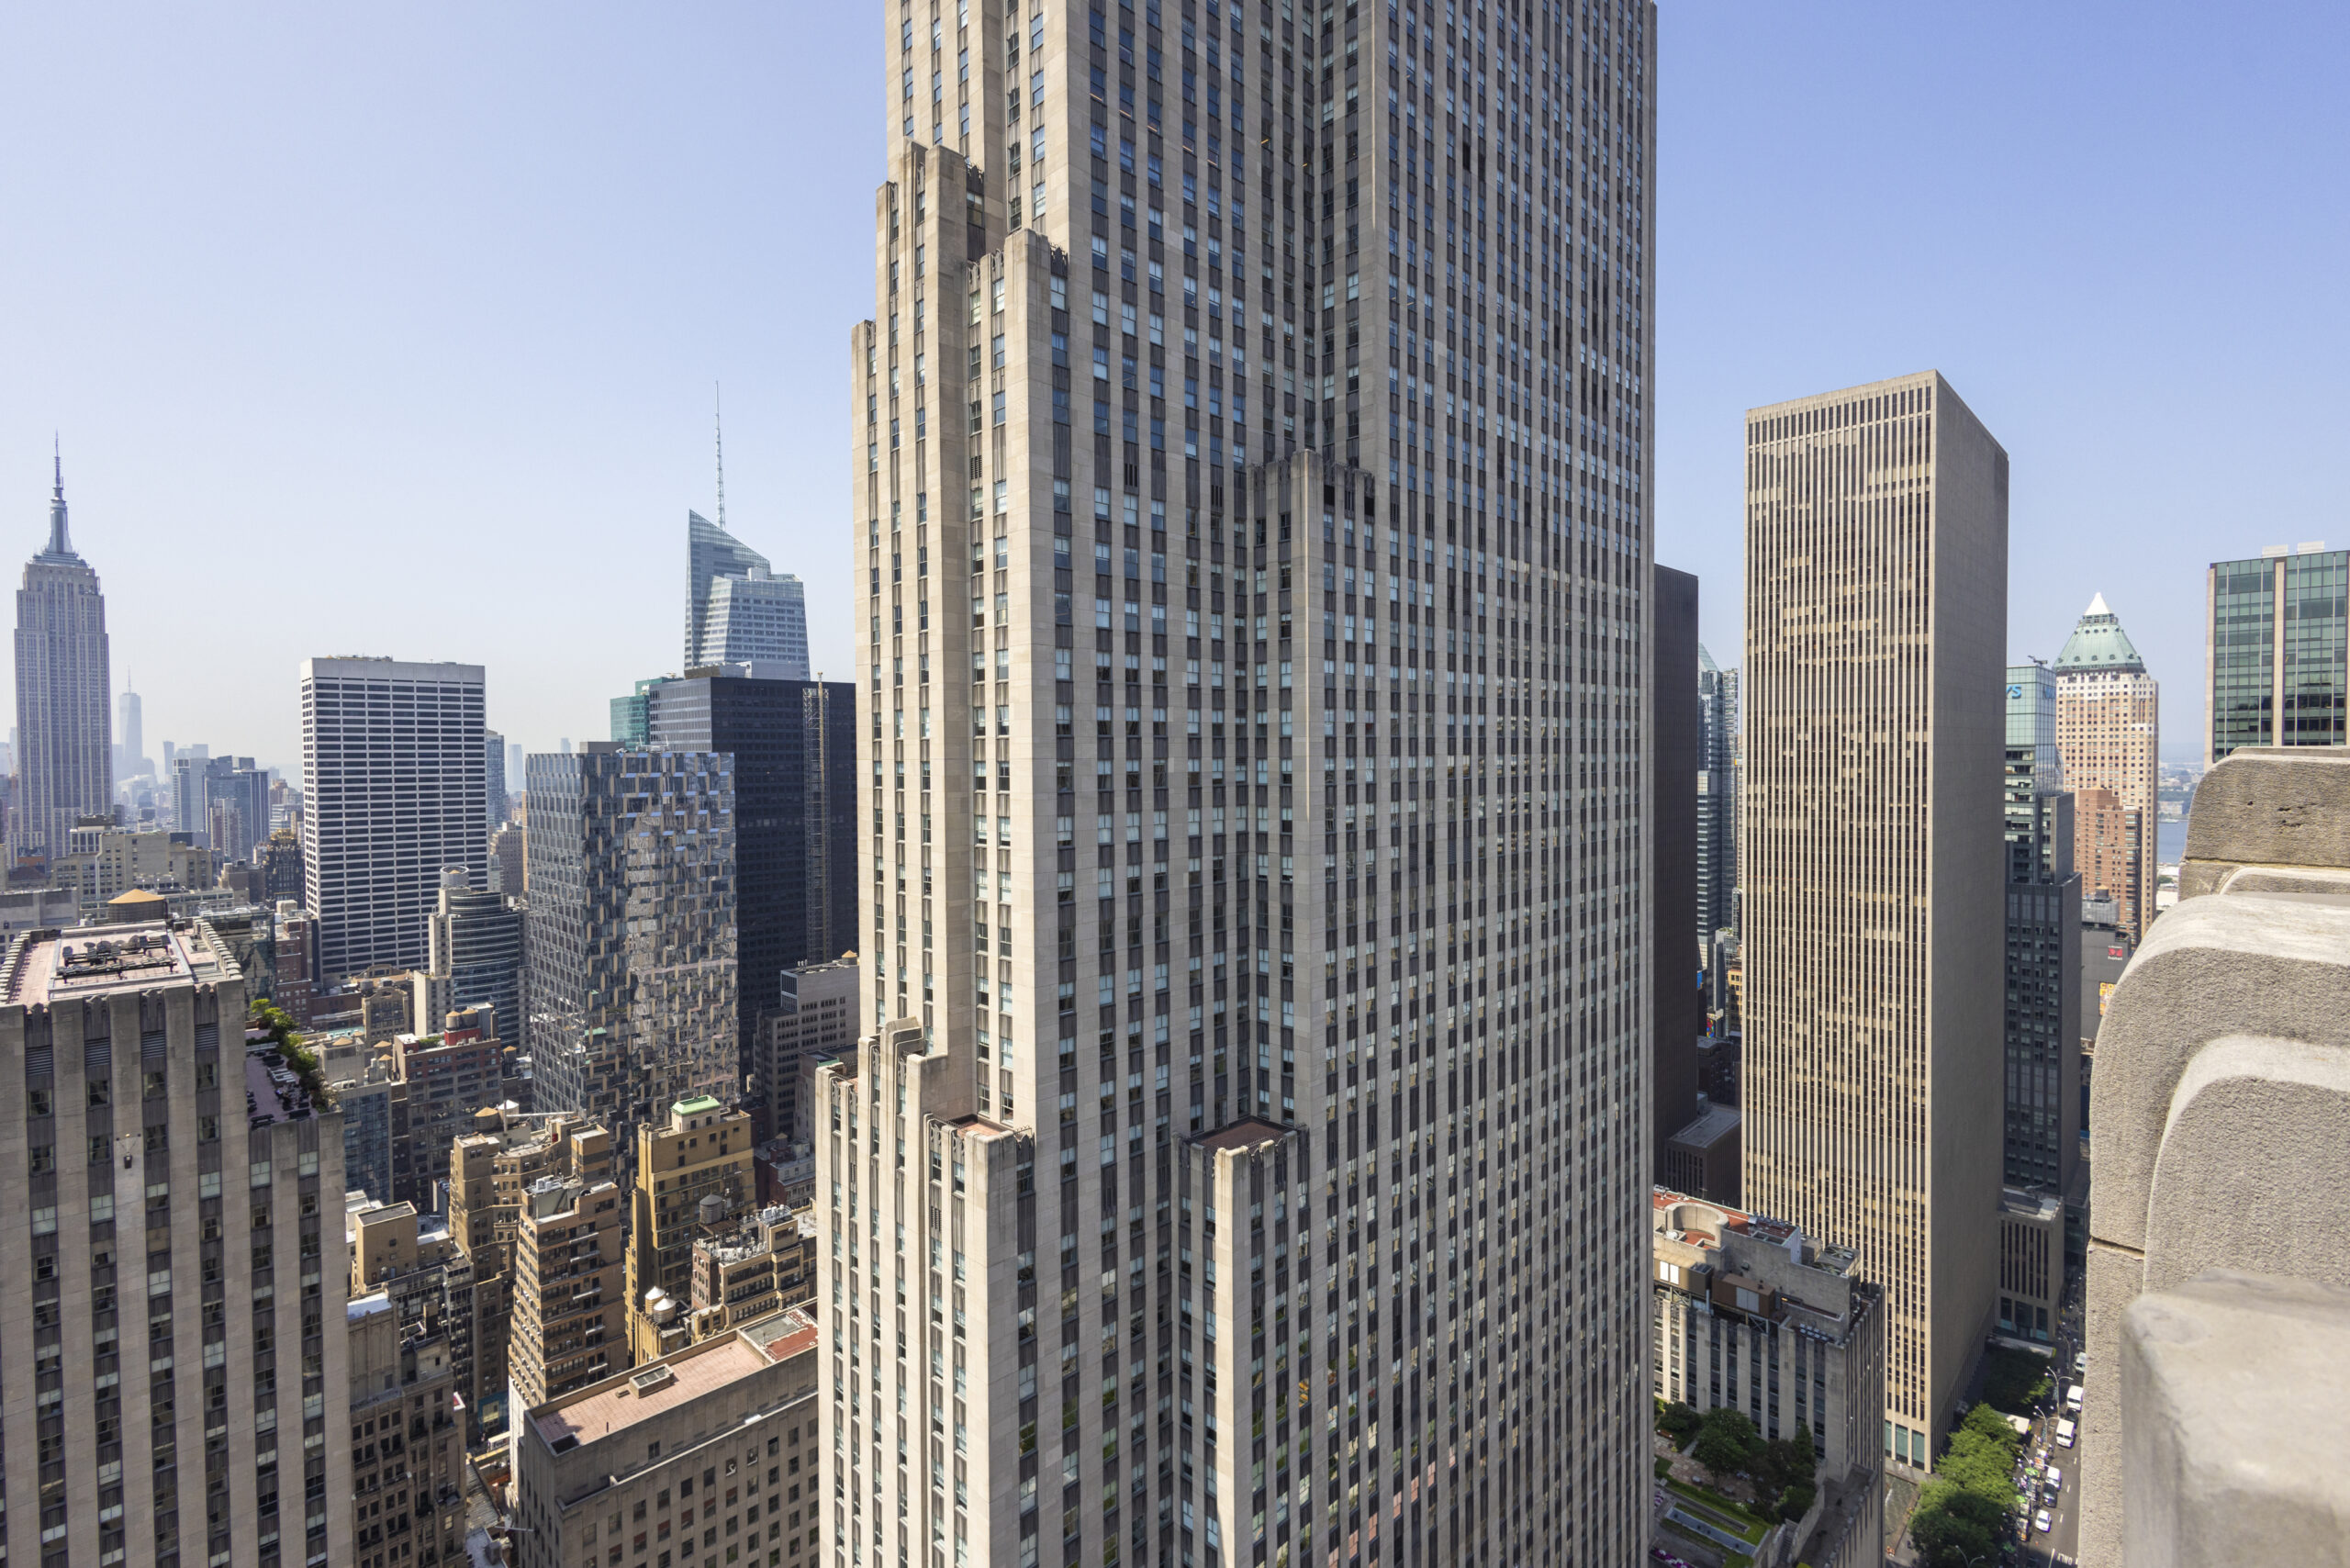
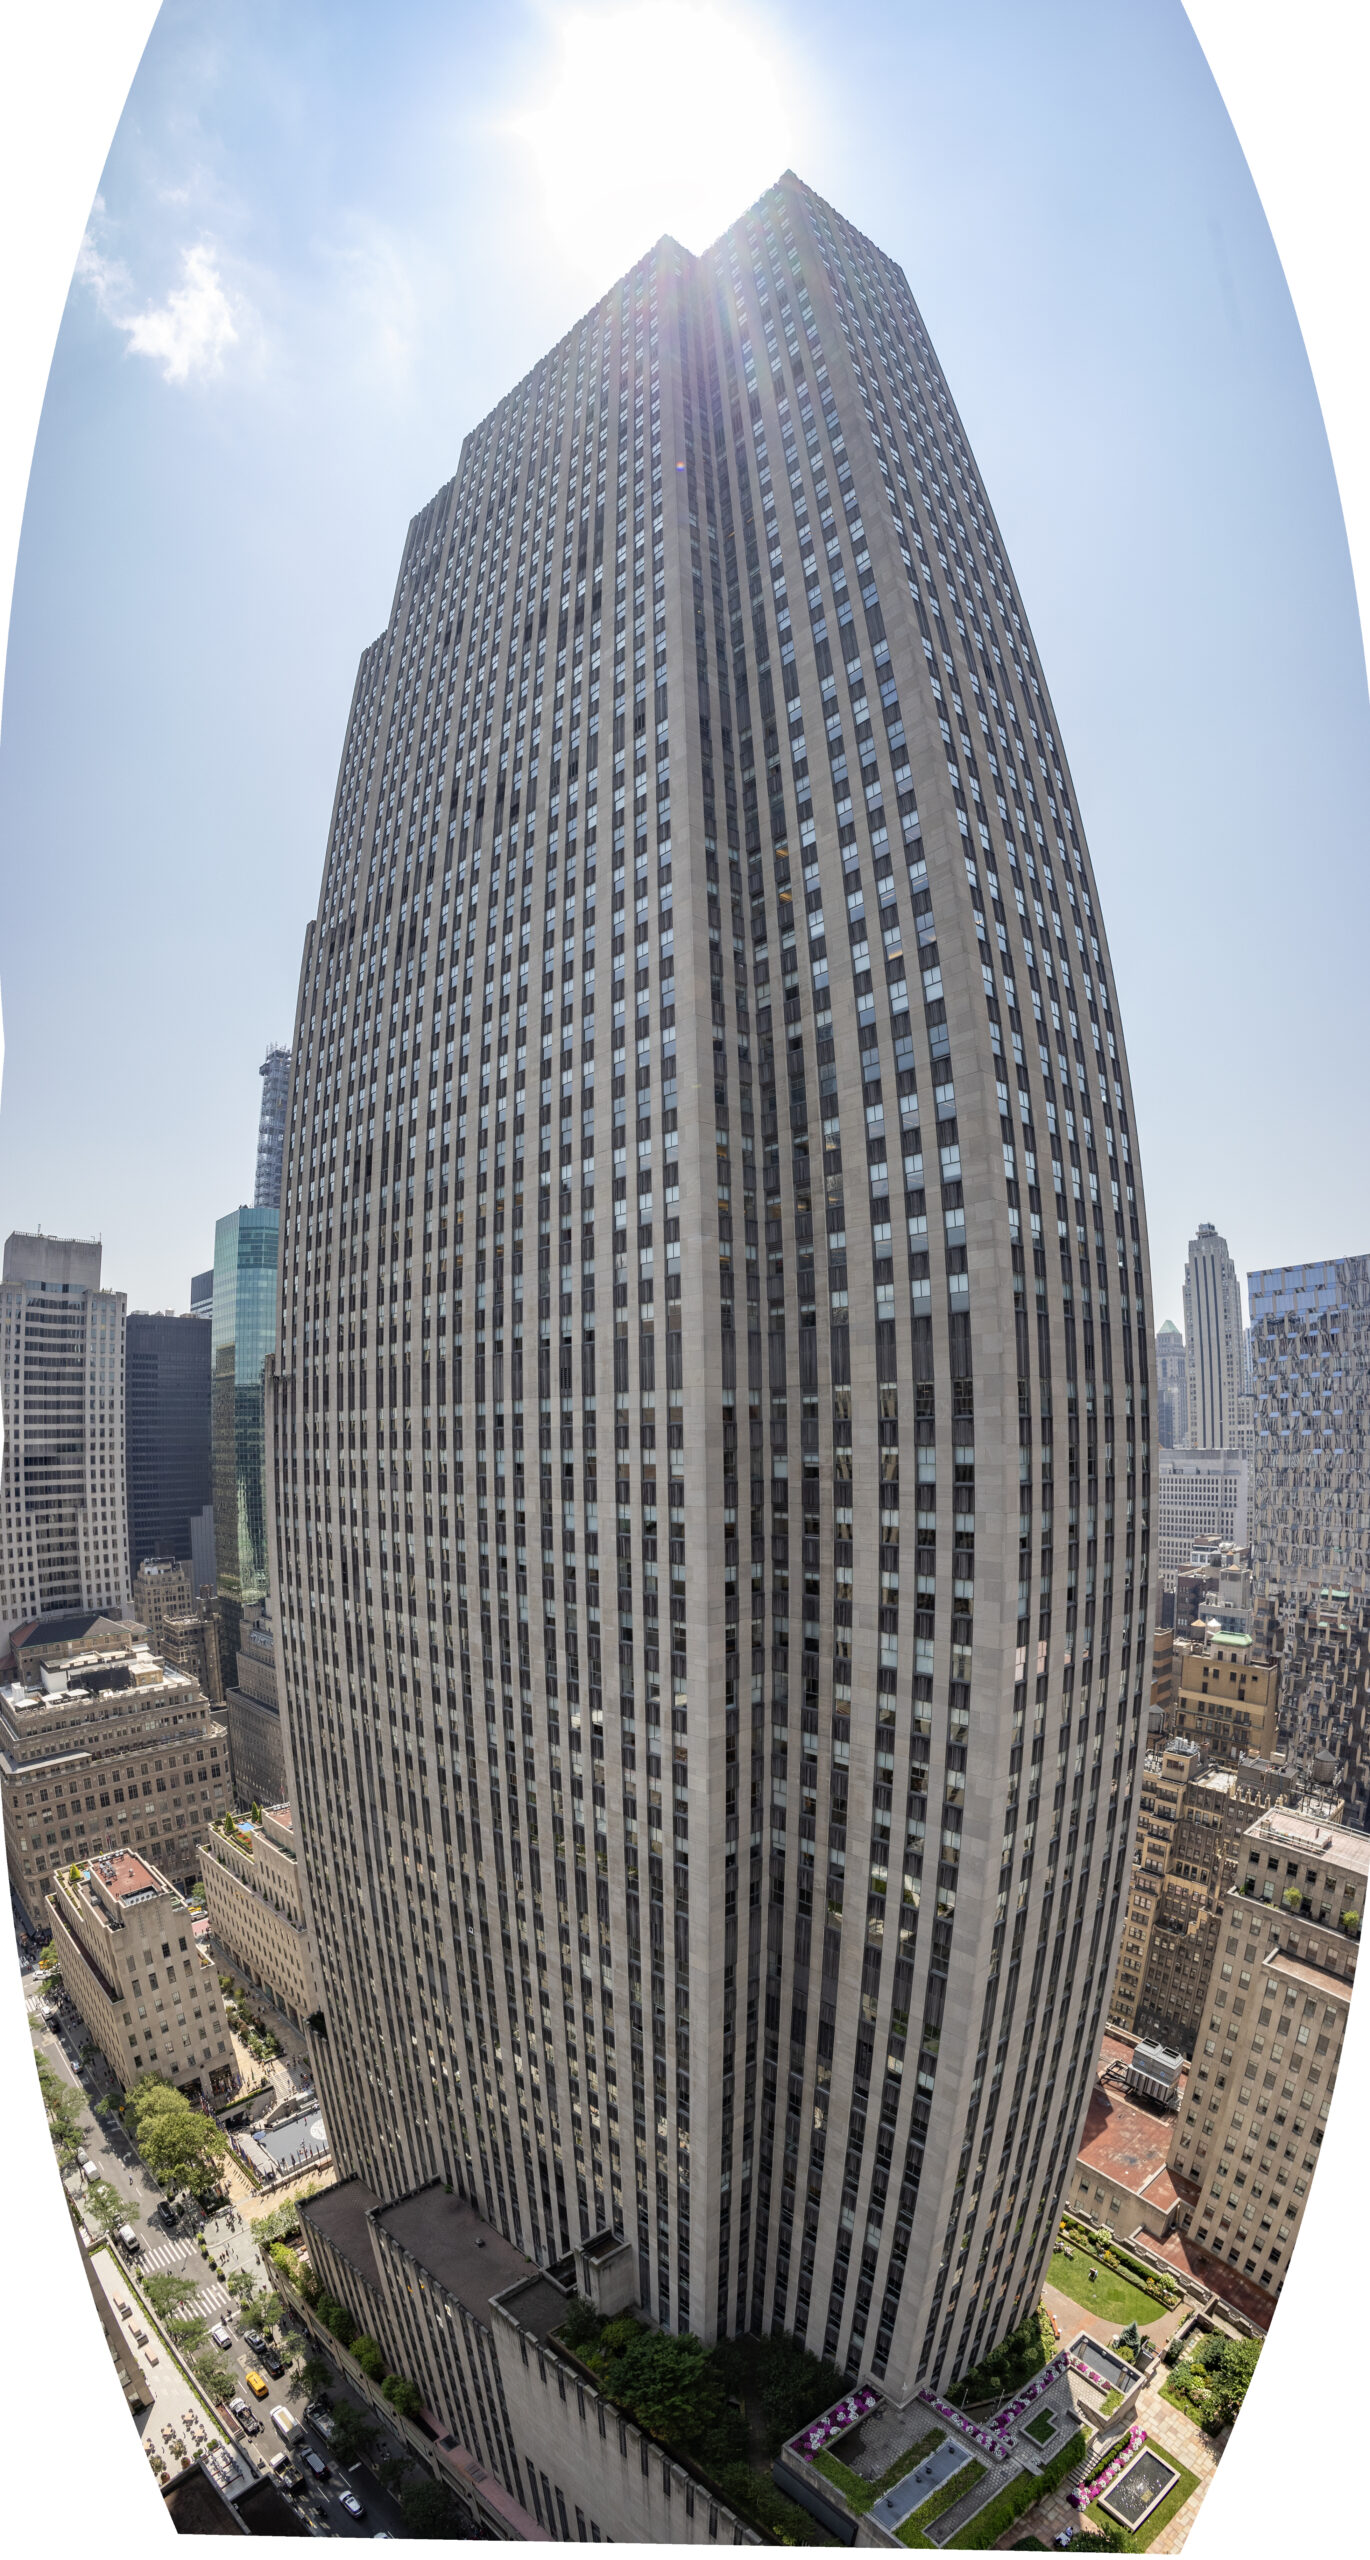
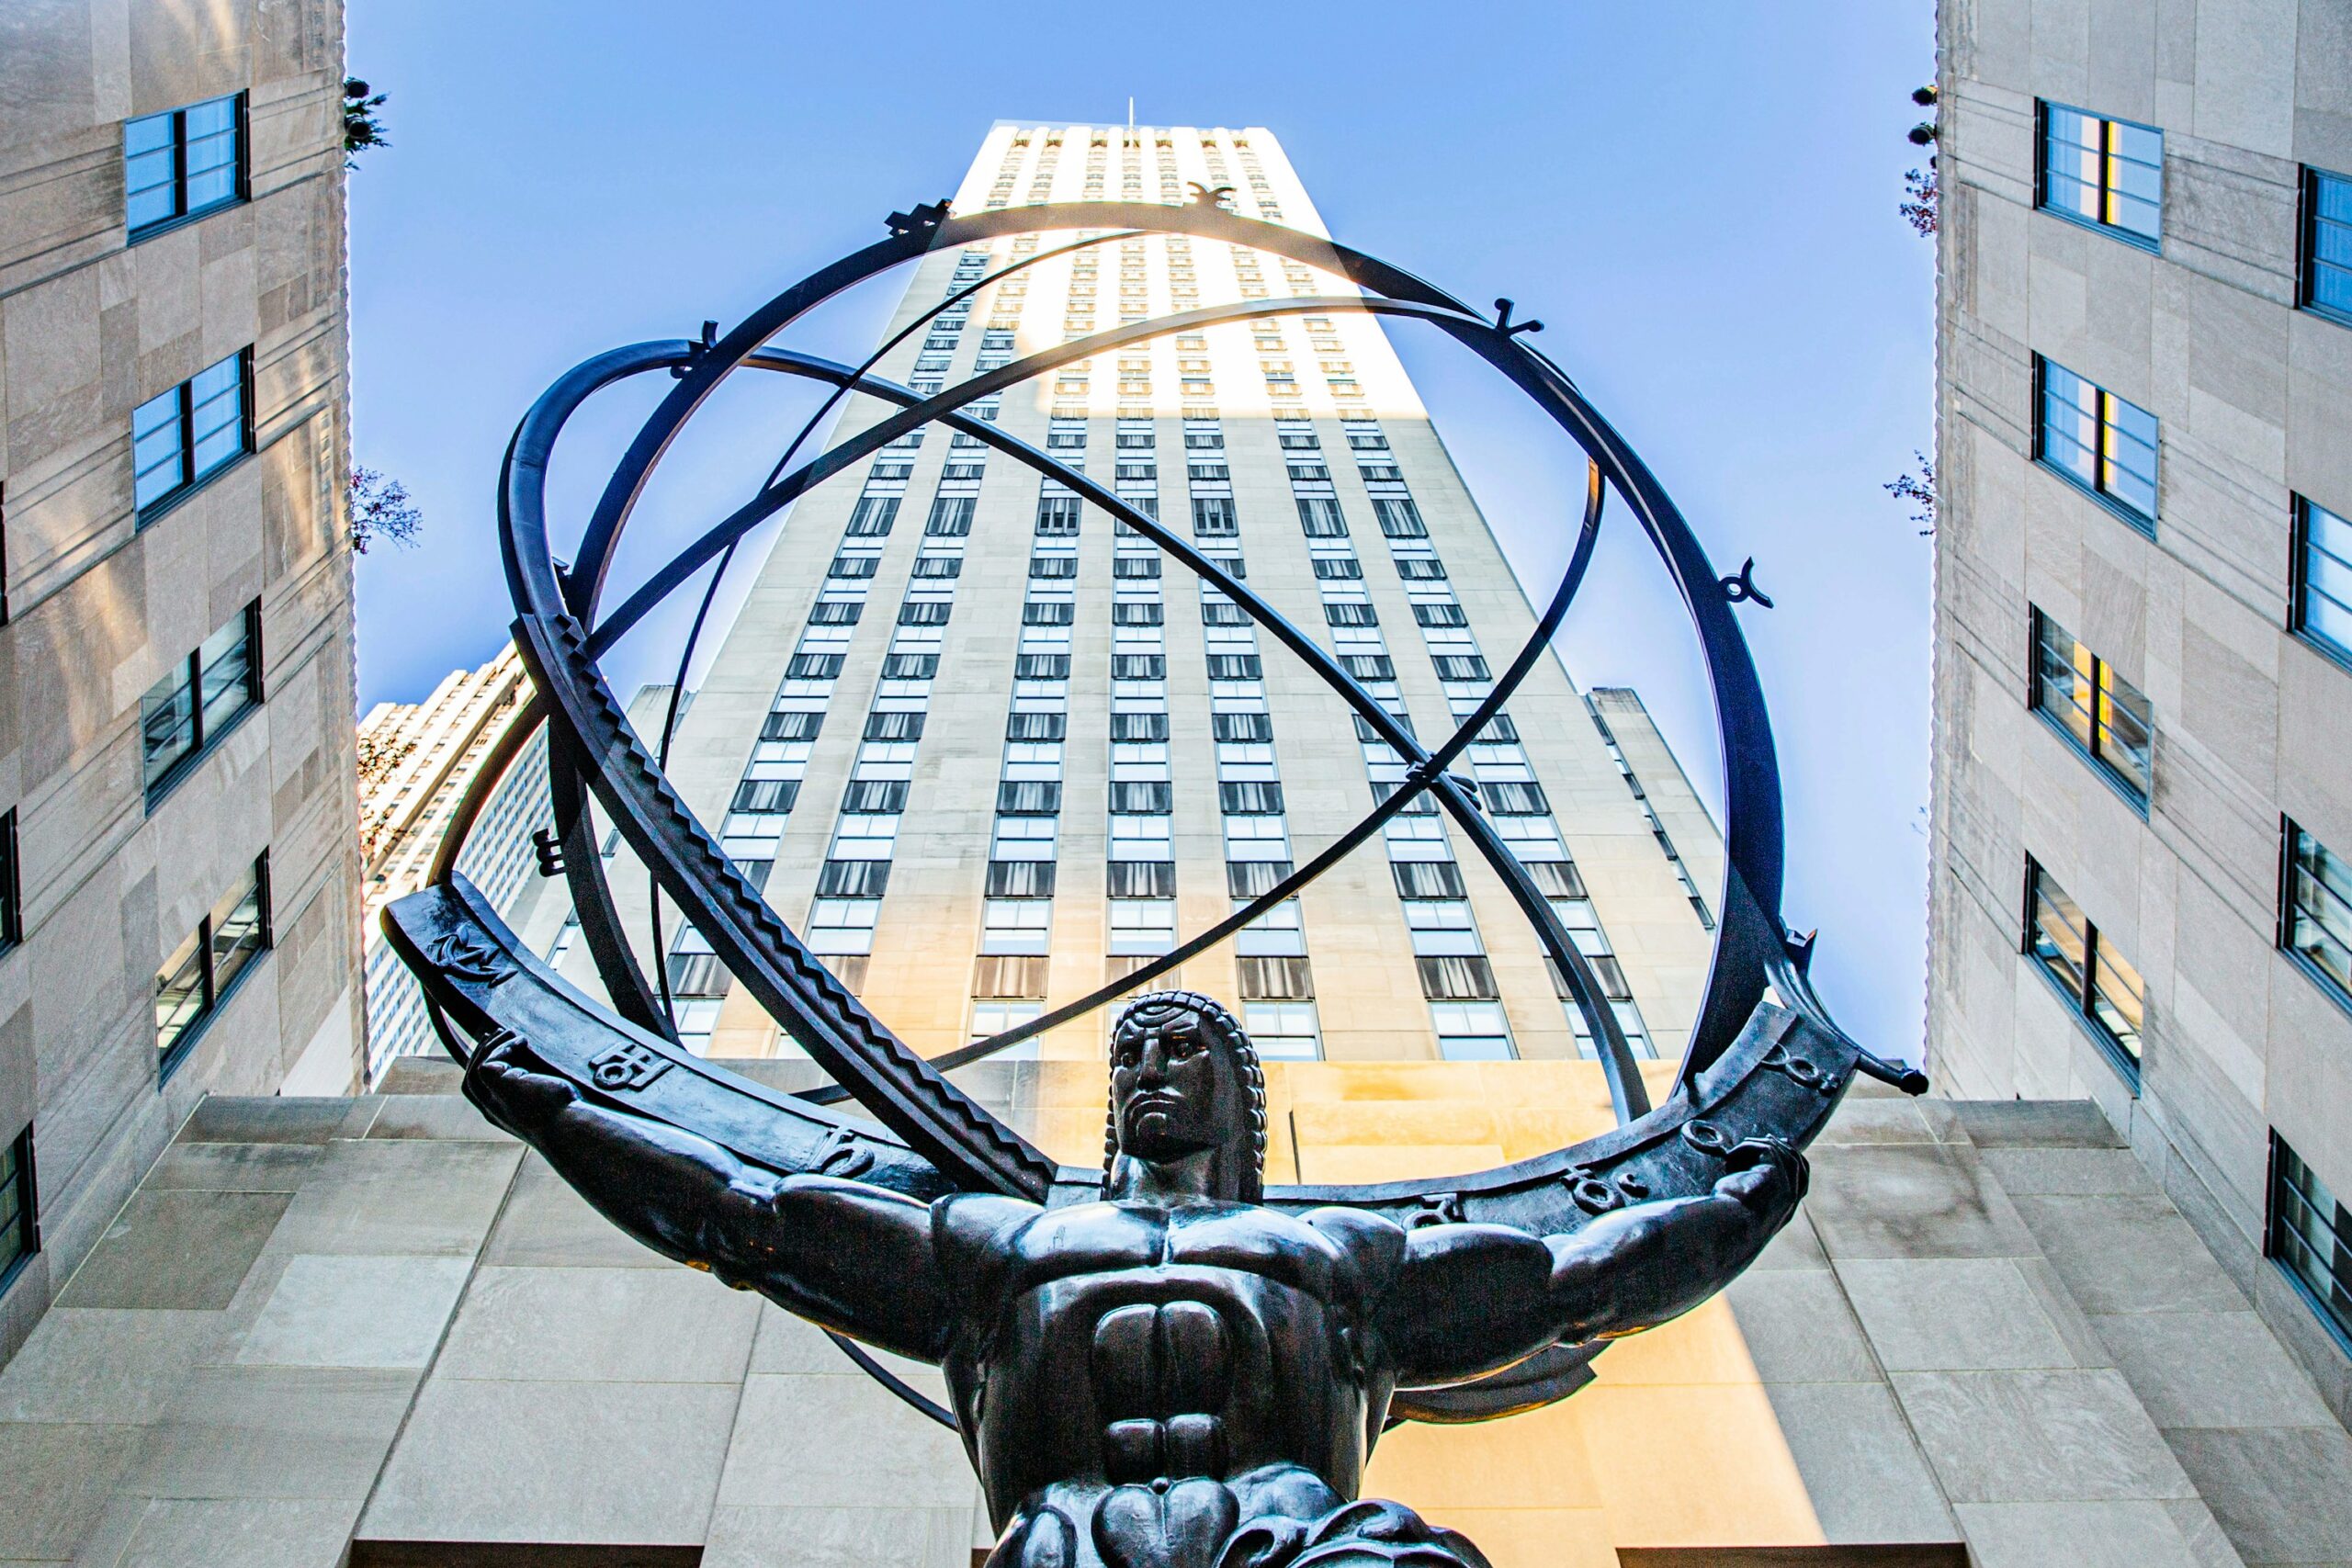
When photographing the large facades of the Rockefeller Center, composition is key. Use a wide-angle lens to capture the entire building and its grandeur. Position yourself at different angles and distances to find the most interesting perspectives. Symmetry and lines are essential elements in Art Deco architecture, so focus on these features.
Stand directly in front of the building to highlight its symmetry. Use leading lines to draw the viewer’s eye into the photo. The Rockefeller Center has many strong vertical and horizontal lines that can create a striking composition.
Consider the Rule of Thirds. Place the main elements of the building along the grid lines to create a balanced and dynamic photo. This technique can help you avoid centering your subject, making the image more engaging.
Focusing on details
For capturing intricate details, a telephoto lens is your best friend. The Rockefeller Center is rich with sculptures, reliefs, and decorative elements. Zoom in to isolate these features and highlight their craftsmanship. Look for geometric patterns and textures that are characteristic of Art Deco design. Close-up shots of these details can reveal the fine artistry and intricate designs that might be missed in wider shots. Pay attention to the light and shadows on these details.
Early morning or late afternoon light can create soft shadows that highlight these elements. Move around and explore different angles. Sometimes, the most interesting shots come from unusual perspectives. Get close to the building and look up, or find a higher vantage point to look down. This variety will give you a more comprehensive set of images. Try to frame your shots. Use elements of the building itself or the surrounding environment to frame your subject. This can add context and depth to your photos.
Lighting and timing
Best times to shoot
Timing plays a crucial role in photography, especially when capturing the intricate details of the Rockefeller Center. The quality of light can dramatically change the appearance of your photos.
Golden hour: This is the period shortly after sunrise and before sunset. The light during these times is soft and warm, creating a beautiful glow on the building’s surfaces. The gentle light brings out the textures and details without harsh shadows or highlights. Plan to shoot during these times for the best natural lighting conditions.
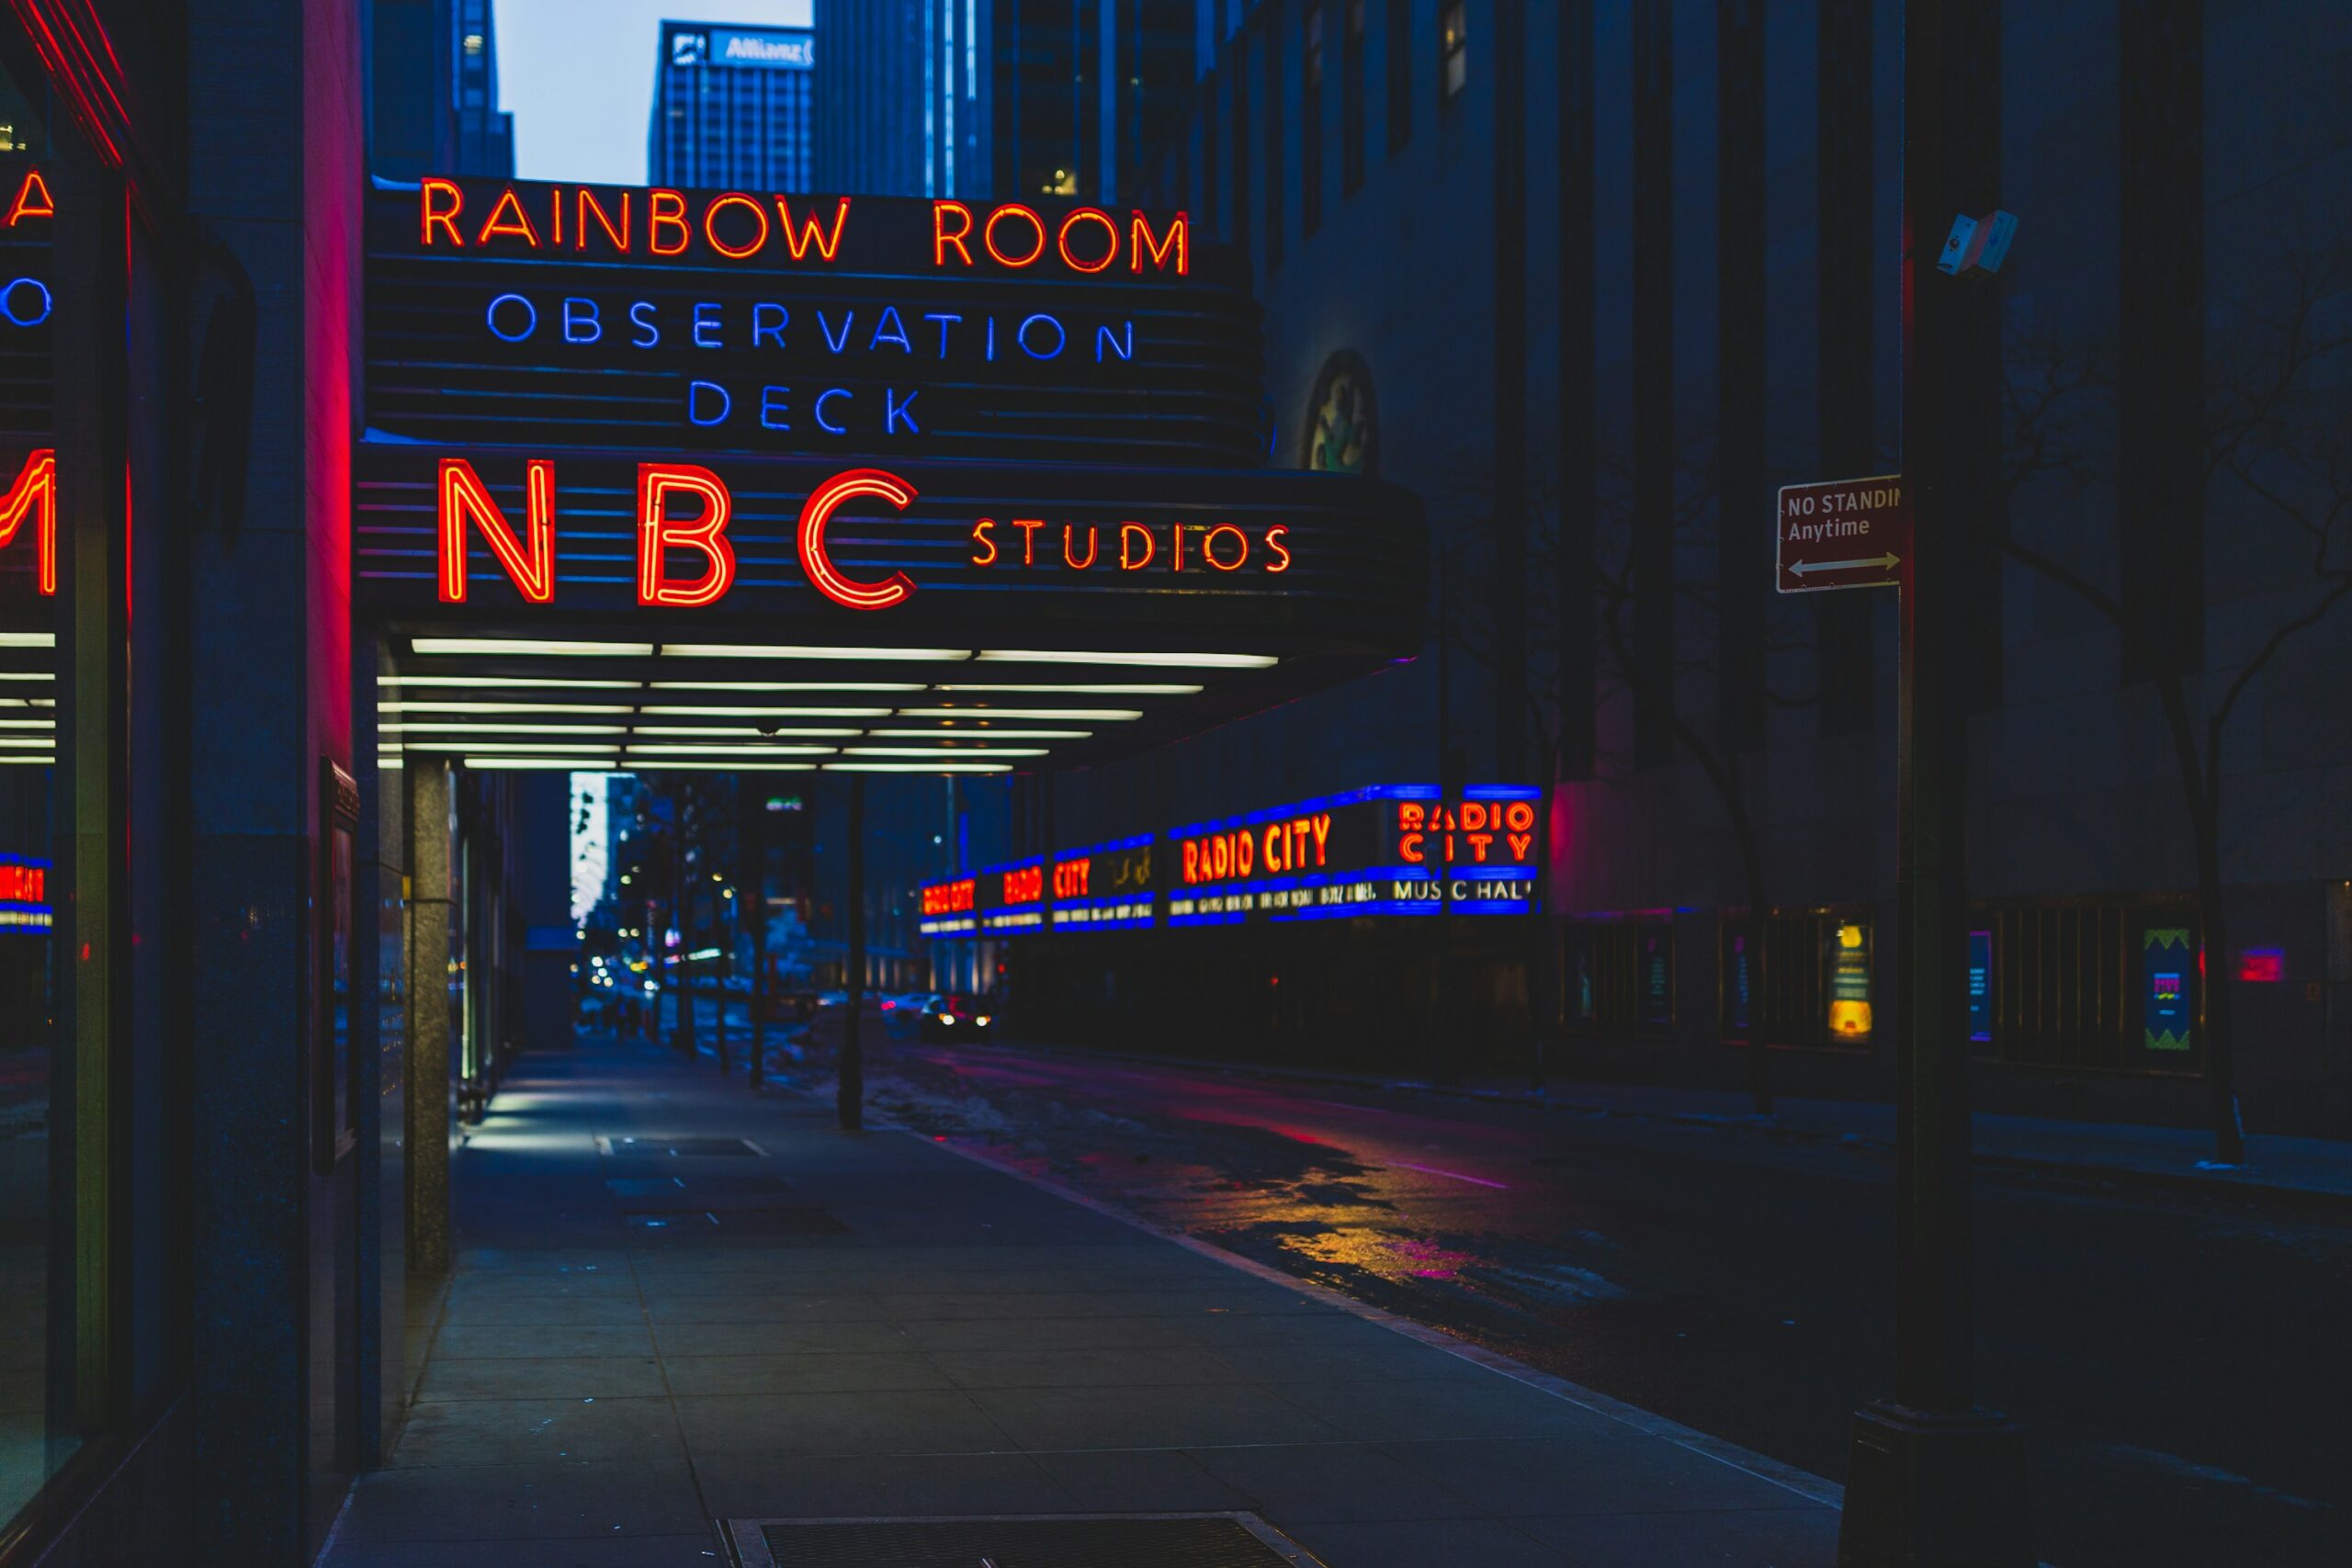
Blue hour: Just after sunset and before sunrise, the sky takes on a deep blue hue. This period provides a magical, soft light that can add a unique mood to your photos. The contrast between the building’s lights and the natural blue of the sky can create stunning images. Blue hour is also a great time to capture the building’s illuminated details.
Avoid shooting during midday when the sun is directly overhead. The harsh light can create strong shadows and highlights, which can wash out details and reduce the overall quality of your photos.
Dealing with shadows
Shadows can either enhance or detract from your photos, depending on how you use them. Balanced lighting is key to making shadows work for you.
Balanced lighting: Use natural light to your advantage. Observe how the light falls on the building and how it creates shadows. Soft, diffused light can help create subtle shadows that add depth to your photos without overpowering the details. Overcast days can provide this type of lighting, reducing the intensity of shadows.
Artificial lighting: The Rockefeller Center is beautifully illuminated at night. The building’s lights highlight its Art Deco features, creating dramatic contrasts and enhancing details that might not be visible during the day. Night photography requires a tripod and slower shutter speeds to capture the illuminated details without camera shake.
Experiment with different lighting conditions. Sometimes, shooting the same detail at different times of the day can yield vastly different results. This experimentation helps you understand how light affects your subject and allows you to choose the best time for your desired effect.
Technique and settings
Camera settings
Using the right camera settings is crucial for capturing sharp, detailed photos of the Rockefeller Center’s Art Deco elements. Here are some recommended settings:
| Setting | Value | Purpose |
|---|---|---|
| Aperture | f/8 – f/16 | Ensures sharpness and depth of field |
| Shutter Speed | Adjust as needed | Compensates for lighting conditions |
| ISO | 100 – 400 | Minimizes noise |
Aperture: Use a small aperture (high f-stop number) like f/8 to f/16. This setting increases the depth of field, ensuring that more of the scene is in sharp focus. This is particularly important when capturing architectural details.
Shutter Speed: Adjust the shutter speed based on the lighting conditions. For handheld shots in good light, a faster shutter speed (1/125 or faster) will prevent camera shake. In low light or for night photography, use a tripod and a slower shutter speed to allow more light into the camera. For example, a shutter speed of 1/30 or slower may be necessary in these conditions.
ISO: Keep the ISO setting low (between 100 and 400) to reduce noise and maintain image quality. Higher ISO settings can introduce grain, which can obscure fine details. If you need to increase the ISO due to low light, do so carefully to balance exposure and image quality.
Advanced techniques
Using advanced photography techniques can enhance your photos and bring out the intricate details of the Rockefeller Center.
HDR photography: High Dynamic Range (HDR) photography involves taking multiple shots at different exposures and combining them into one image. This technique captures a wider range of light and detail, balancing the bright and dark areas. It’s especially useful for high-contrast scenes, such as when part of the building is in shadow and another part is brightly lit. Many cameras have an HDR setting, or you can merge photos in post-processing using software like Adobe Lightroom or Photoshop.
Panoramas: Creating panoramic photos can capture the expansive facades and surroundings of the Rockefeller Center. Panoramas involve taking a series of overlapping photos and stitching them together to form a wide, seamless image. Use a tripod to keep your camera steady and ensure consistent overlap between shots. Many cameras and smartphones have a panorama mode, or you can stitch photos together in post-processing software.
Long exposure: Long exposure photography can add a unique look to your photos, especially at night. Use a tripod to keep the camera steady and set a slow shutter speed. Long exposures can capture light trails from passing cars or smooth out moving crowds, creating a dynamic and artistic effect.
Bracketing: Exposure bracketing involves taking multiple shots at different exposures: one at the correct exposure, one underexposed, and one overexposed. This technique ensures you capture the full range of light in a scene. You can combine these images in post-processing to achieve the best exposure.
Post-processing
Basic adjustments
After capturing your photos, post-processing can enhance their quality and bring out the best in your shots. Basic adjustments are the first step in this process.
Exposure and Contrast: Adjust the exposure to ensure your photos are neither too dark nor too bright. Proper exposure brings out the details and makes the image more visually appealing. Increase the contrast slightly to make the details pop. Contrast adjustment helps in differentiating between the shadows and highlights, making the intricate designs more pronounced.
Color correction: Make sure the colors in your photos are true to life. Adjust the white balance to correct any color casts that may have been introduced by artificial lighting or reflections. Proper color correction ensures that the vibrant hues of the Rockefeller Center’s Art Deco elements stand out. If your photo looks too warm (yellowish) or too cool (bluish), tweak the white balance until it looks natural.
Cropping and straightening: Crop your photos to remove any distracting elements and focus on the main subject. Straighten the image to ensure that lines, especially architectural lines, are straight and aligned. This adjustment keeps the composition clean and professional.
Sharpening: Enhance the clarity of your photos by sharpening them. Sharpening improves the definition of edges and details, making the intricate Art Deco patterns more visible. Be careful not to over-sharpen, as it can introduce noise and artifacts.
Detailed enhancements
Once you’ve made basic adjustments, detailed enhancements can further refine your photos.
Noise reduction: If you’ve shot in low light with a higher ISO, you might notice some grain or noise in your photos. Use noise reduction tools to clean up the image. Be cautious with noise reduction to avoid losing fine details. Balance between reducing noise and preserving the texture and detail of the Art Deco elements.
Highlight and shadow adjustments: Fine-tune the highlights and shadows to balance the image. Recover details in the highlights if they appear blown out, and lift the shadows to reveal details in the darker areas. This adjustment ensures that every part of your photo, from the brightest to the darkest, retains detail.
Saturation and vibrance: Enhance the colors by adjusting saturation and vibrance. Increase saturation to make the colors more intense, but do so moderately to avoid unnatural hues. Vibrance selectively boosts the muted colors while protecting already saturated colors, providing a more balanced enhancement.
Local adjustments: Use local adjustment tools to target specific areas of your photo. For example, you might want to brighten up a shadowed section or increase the sharpness of a particular detail. Local adjustments allow for precise control over specific parts of the image, ensuring that each element looks its best.
Vignetting: Adding a subtle vignette can draw the viewer’s eye towards the center of the image, emphasizing the main subject. Be subtle with this effect to avoid making it too obvious or distracting.
Tips for Rockefeller Center photography success
Be patient
Patience is key when photographing the Rockefeller Center. Sometimes the perfect shot requires waiting for the right light or conditions. If the light isn’t quite right, wait a few minutes for it to change. Light can dramatically alter the appearance of your subject, so being patient can pay off with stunning results.
Experiment with angles
Move around and try various angles to find the most interesting compositions. Don’t just stick to eye level. Get low to the ground or find a higher vantage point. Sometimes looking straight up or down can create a unique perspective. Experimenting with different angles will help you discover new and exciting ways to capture the Rockefeller Center’s Art Deco details.
Take shots from different distances. Wide shots can capture the grandeur of the building, while close-ups can highlight intricate details. Mixing these perspectives in your portfolio will provide a comprehensive view of the architectural beauty.
Respect the space
Always follow the rules and regulations of the Rockefeller Center. Some areas might have restrictions on photography, so be sure to respect these guidelines. Avoid touching or leaning on the delicate architectural details. Preserve the integrity of the building by being mindful of your surroundings and actions.
Be considerate of other visitors. The Rockefeller Center is a popular destination, and many people come to enjoy its beauty. Be patient and wait for the right moment if other visitors are in your frame. Respect their space and experience.